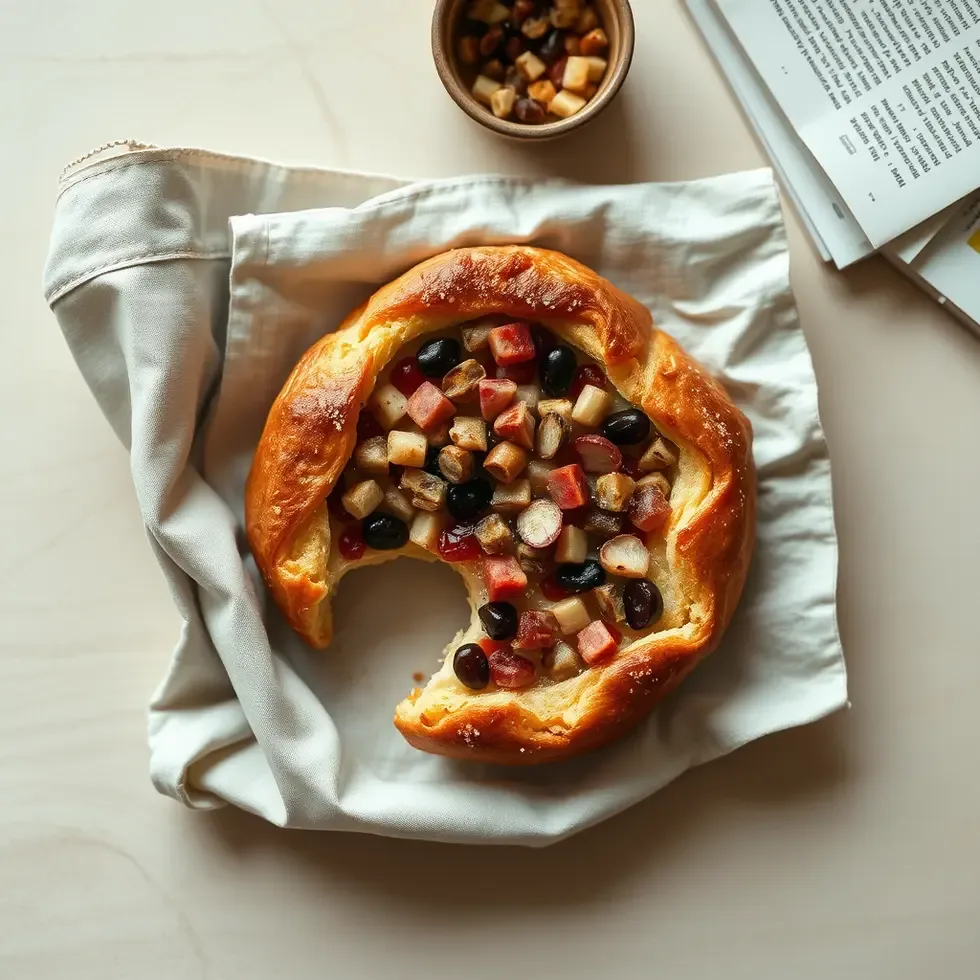
Imagine the tender, flaky layers of a freshly baked Danish pastry, oozing with sweet or savory fillings. For many, this delightful treat is a culinary holy grail, but with a reputation for being tricky to make. I’m here to dispel that myth and walk you through the process of creating this mouthwatering pastry from scratch.
As a seasoned baker, I’ve experimented with various danish pastry recipes and techniques, and I’m excited to share my findings with you. Whether you’re a beginner or an experienced baker, this guide will provide you with the confidence and skills to tackle this iconic pastry.
So, what sets a great Danish pastry apart from a good one? It all comes down to the delicate balance of ingredients, technique, and patience. With a little practice, you’ll be able to create a lamination process that yields a tender, flaky crust and a deliciously soft interior.
Table of Contents
Understanding the Fundamentals of Danish Pastry
The Importance of Ingredients
When it comes to making Danish pastry, the quality of your ingredients is crucial. Look for high-protein flour, such as bread flour or all-purpose flour with a high protein content, as this will help create a stronger gluten structure and a more tender crumb.
The Role of Yeast
Yeast is another essential ingredient in Danish pastry, responsible for fermenting the sugars and producing carbon dioxide gas bubbles. This process creates a light, airy texture and a subtle tanginess.
Lamination: The Key to Flaky Layers
Lamination is the process of folding and rolling the dough to create the signature flaky layers of Danish pastry. This technique requires patience and precision, but the end result is well worth the effort.
Tips and Tricks for Achieving Flaky Layers
Keeping the Butter Cold
One of the most critical factors in achieving flaky layers is keeping the butter cold. This will help prevent the butter from melting and mixing with the dough, resulting in a tough, dense pastry.
Using the Right Rolling Pin
A good rolling pin is essential for achieving even, consistent layers. Look for a rolling pin with a smooth surface and a comfortable handle, and always roll the dough in one direction to avoid developing the gluten.
Avoiding Overmixing
Overmixing is a common mistake when making Danish pastry, as it can lead to a tough, dense crumb. Mix the ingredients just until they come together in a shaggy mass, then let the dough rest and relax.
A Step-by-Step Guide to Making Danish Pastry
Step 1: Make the Dough
In a large mixing bowl, combine 1 cup of warm milk, 1/4 cup of granulated sugar, and 2 teaspoons of active dry yeast. Stir to dissolve the yeast, then let the mixture sit for 5-10 minutes, or until it becomes frothy and bubbly.
Step 2: Add the Dry Ingredients
Add 3 cups of bread flour, 1 teaspoon of salt, and 1/4 cup of unsalted butter, softened, to the bowl. Mix the ingredients until they come together in a shaggy mass, then let the dough rest for 10-15 minutes.
Step 3: Laminate the Dough
Roll the dough out to a thickness of about 1/4 inch, then fold it in half lengthwise, like a letter. Rotate the dough 90 degrees, then roll it out to a thickness of about 1/4 inch again. Repeat this process 3-4 times, or until the dough becomes smooth and elastic.
Step 4: Shape the Pastry
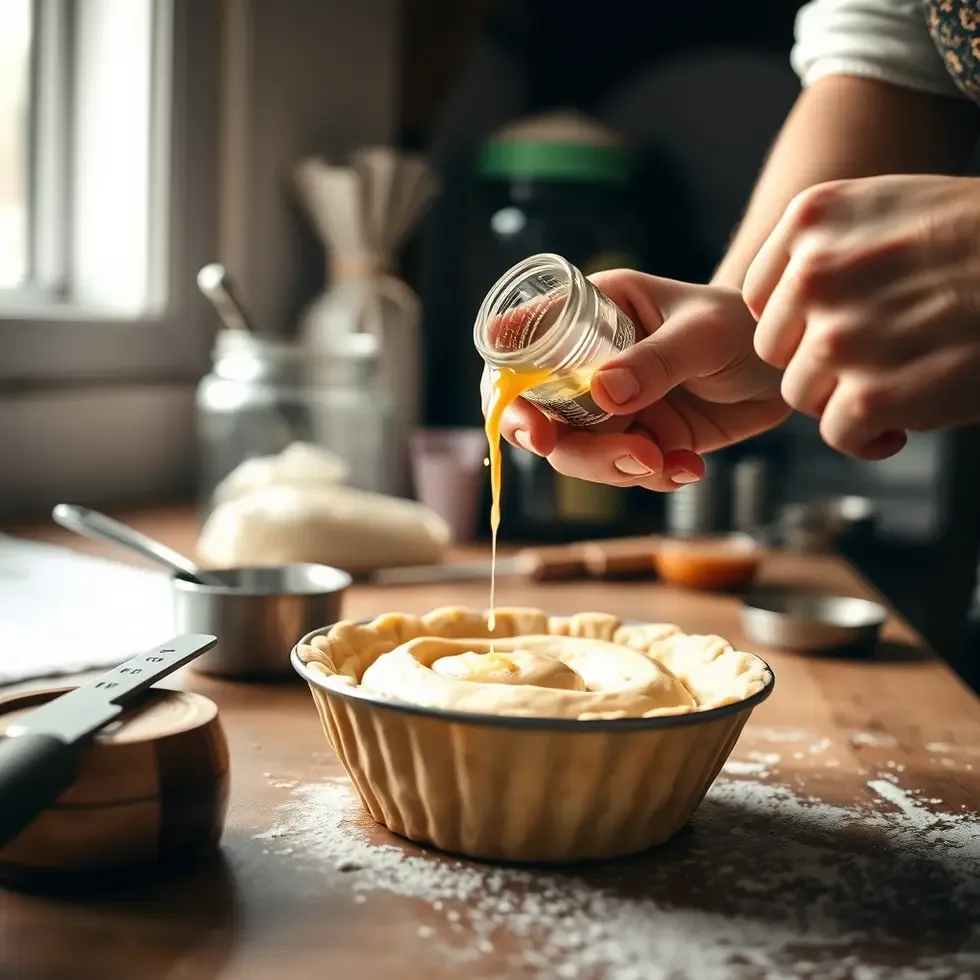
Roll the dough out to a thickness of about 1/4 inch, then use a pastry cutter or a knife to cut out the desired shape. Place the pastry on a baking sheet lined with parchment paper, then brush with egg wash and sprinkle with granulated sugar.
Step 5: Bake the Pastry
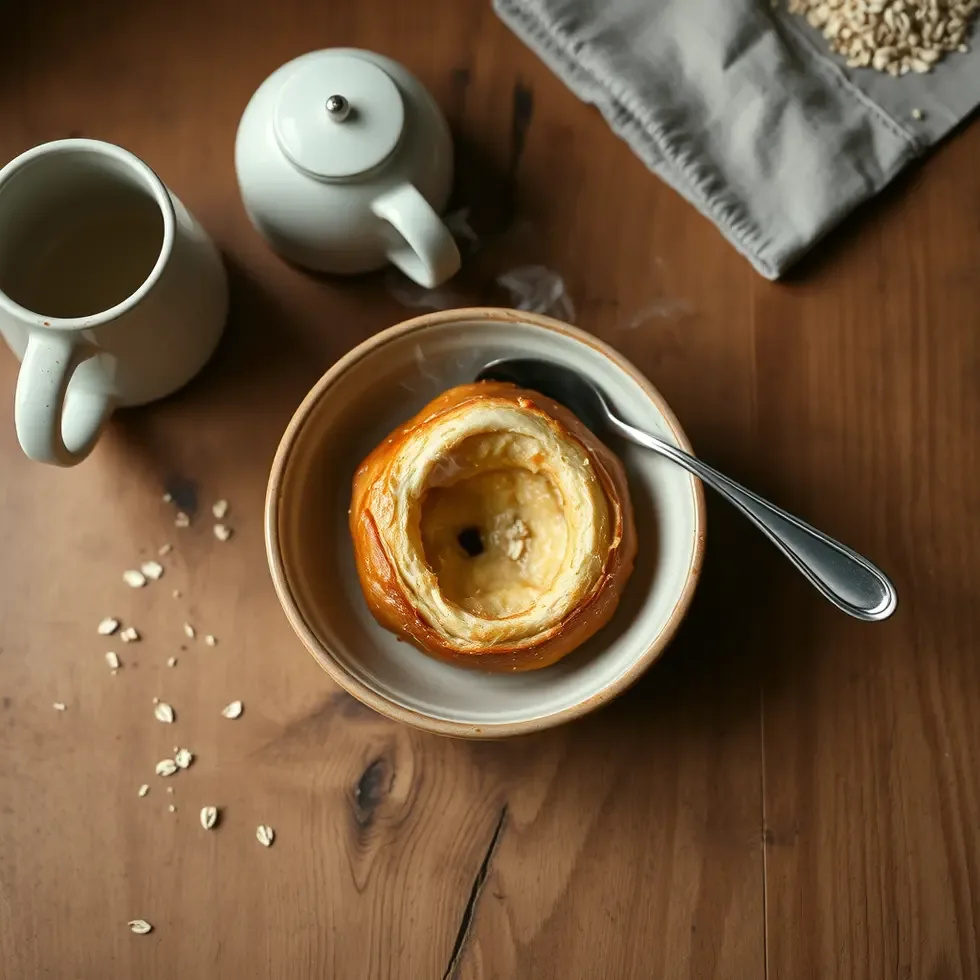
Bake the pastry in a preheated oven at 375°F (190°C) for 20-25 minutes, or until it becomes golden brown and puffed.
Conclusion
Mastering the art of making Danish pastry requires patience, practice, and a willingness to experiment. By following these tips and tricks, you’ll be well on your way to creating a deliciously flaky and tender pastry that’s sure to impress.
So, what are you waiting for? Try making your own danish pastry this weekend and drop your results in the comments below. Don’t forget to share your favorite lamination process tips and tricks!
Frequently Asked Questions
What is the best type of flour to use for Danish pastry?
The best type of flour to use for Danish pastry is high-protein flour, such as bread flour or all-purpose flour with a high protein content. This type of flour will help create a stronger gluten structure and a more tender crumb.
How do I keep the butter cold when making Danish pastry?
To keep the butter cold, make sure to keep it refrigerated until you’re ready to use it. You can also use frozen butter and grate it or chop it into small pieces before adding it to the dough.
What is the difference between Danish pastry and croissant?
Danish pastry and croissant are both types of laminated pastries, but they differ in terms of ingredients and technique. Danish pastry typically uses a yeast-based dough and a simpler lamination process, while croissant uses a more complex lamination process and a higher proportion of butter.
Can I make Danish pastry ahead of time?
Yes, you can make Danish pastry ahead of time. The dough can be refrigerated for up to 24 hours or frozen for up to 2 months. Simply thaw the dough and let it rise before baking.
Why did my Danish pastry not turn out flaky?
There are several reasons why your Danish pastry may not have turned out flaky. Overmixing the dough, using too much butter, or not keeping the butter cold enough can all contribute to a dense or tough pastry. Try adjusting your technique and ingredients to see if that improves the results.
Danish Pastry
Ingredients
Method
- Combine the flour, sugar, and cold butter in a bowl.
- Use a pastry blender or your fingers to work the butter into the flour until it resembles coarse crumbs.
- Make a well in the center of the flour mixture and add the egg.